INTERMEDIATE - Bring light into small and darkened room with Contemporary Style Design
Prepare the point of view
1. In the step "HD visual", select the "eye level" view as for any visual and place your camera
2. Lower the elevation of the camera to a height of about 4'-3 1/4" to minimize the space taken by the ceiling and change its orientation towards the area you want to capture
3. Once you are satisfied with the view, you can save the point of view with the settings on the right

Place the lighting panel
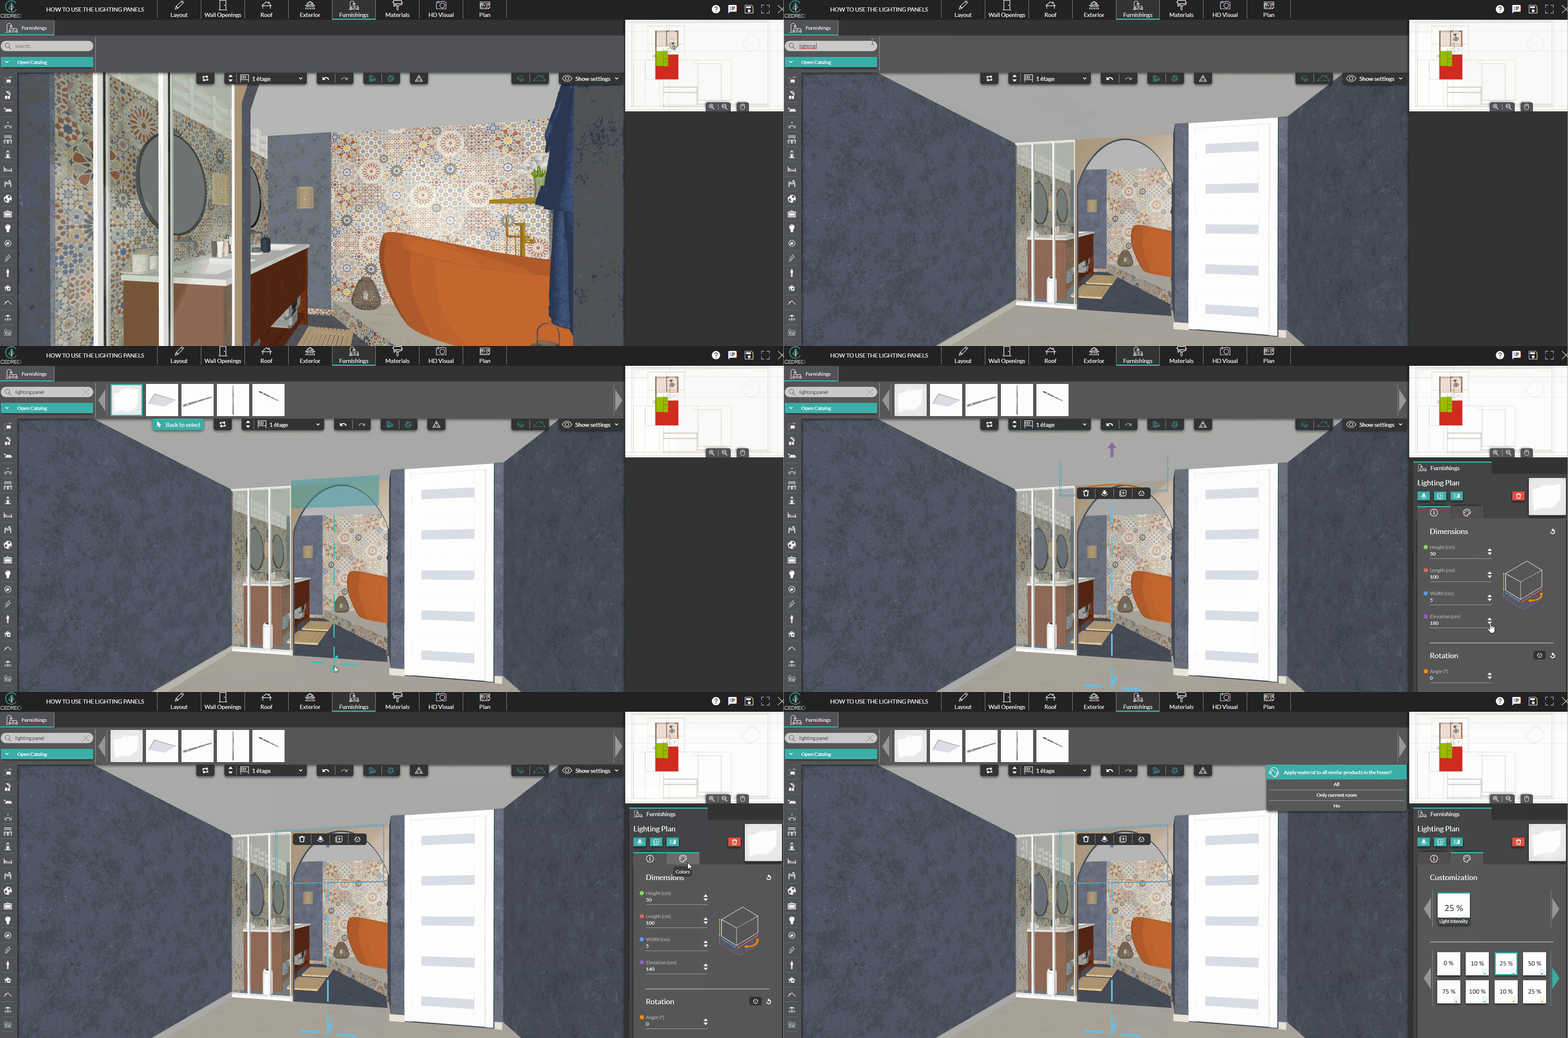
1. In the "Furnishing step", in the search bar, type "lighting panel" and place the product in the room
2. Elevate or lower the elevation of the panel using the settings on the right, place it high enough to enlight most of the room without having it touch the ceiling
💡 For better visibility of the room, you can remove the roof and superior levels from the display settings
3. Rotate the product in order to have the grey side facing the room
4. With the settings on the right, light up the panel and fix the intensity at 25% using whichever light you want

💡Opt for blue lights, they give an impression of natural light
⚠️ Don't forget to display the superior levels and roof once you are done placing the planel and before starting the visual
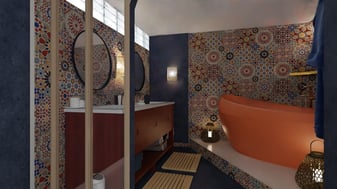
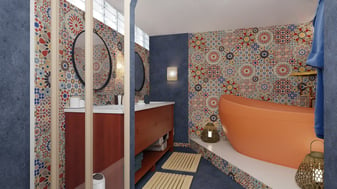
Without lighting panel With lighting panel

